Heya all, long time poster on the sphere, Elmoto etc...
Anywho, I just took delivery of a '15 3 brick DS, and I have a looong list of mods and fixes to do. In the interest of spreading the knowledge on how these bikes go together (as well as general reference) ill be posting up some guides here.
Hey, there is high voltage here! Unplug the bike from the wall, key the bike off, and leave it that way. The MBB (main bike board) seems to leave the contactors on at random leaving things live. Luckily zero runs a less-than-lethal battery pack voltage, if you lick your fingers and touch full pack voltage, its gonna let you know you did it, but your not gonna die. That being said, if you touch any of the pack positive and negative wires, you are gonna get an immense arc flash and burn the crap outta yourself, spray molten copper everywhere and generally have a bad time.
Safety rant over. This post will be about
replacing the onboard charger:Mine had a bad one from the factory, and they were being slow to get me in to fix it, so here is how you do it:
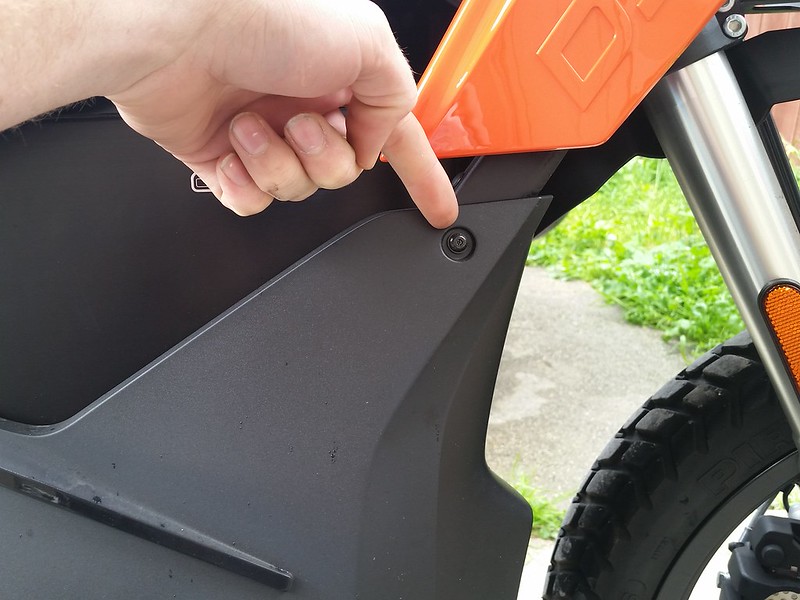
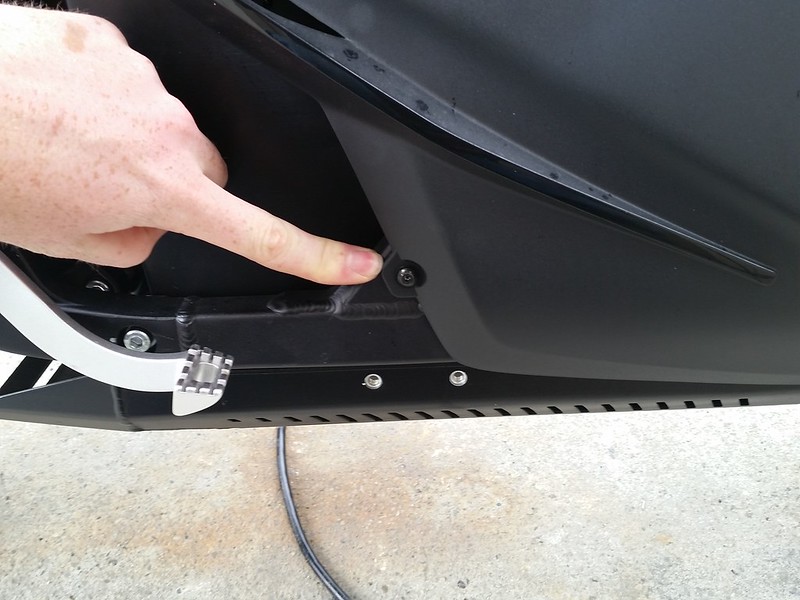
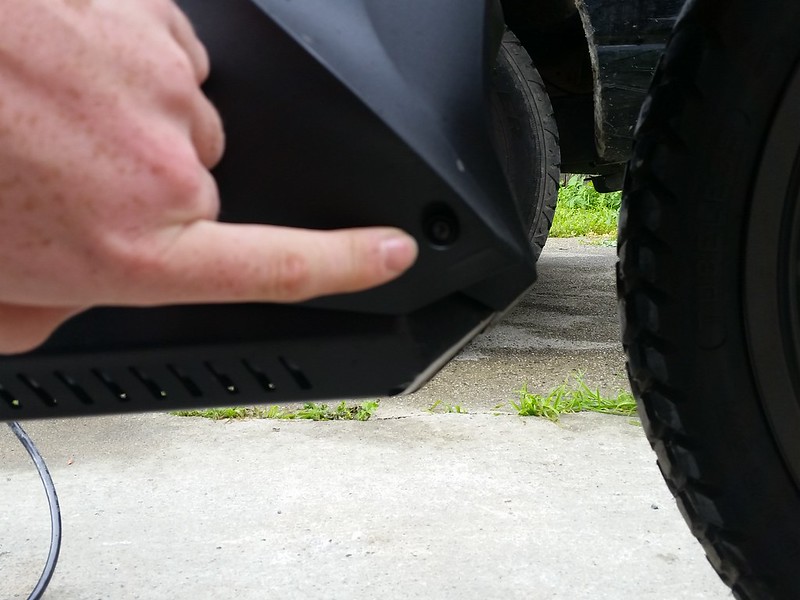
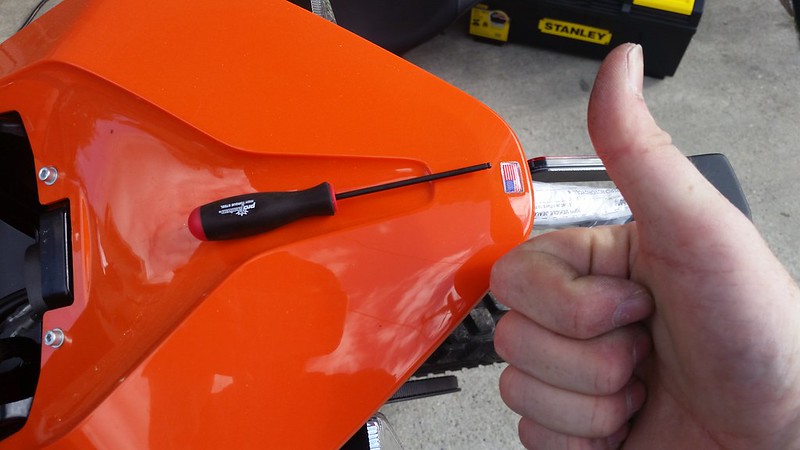
Start by pulling the three little hex bolts (3mm?) from the side panels (BTW everything on the zero is metric thank god)
 20150228_133825
 by
edwards8899, on Flickr
 20150228_133819
 by
edwards8899, on Flickr
 20150228_133833
 by
edwards8899, on Flickr
Next, pull the front body panel (I forgot to take pictures of this, its just a few small screws)
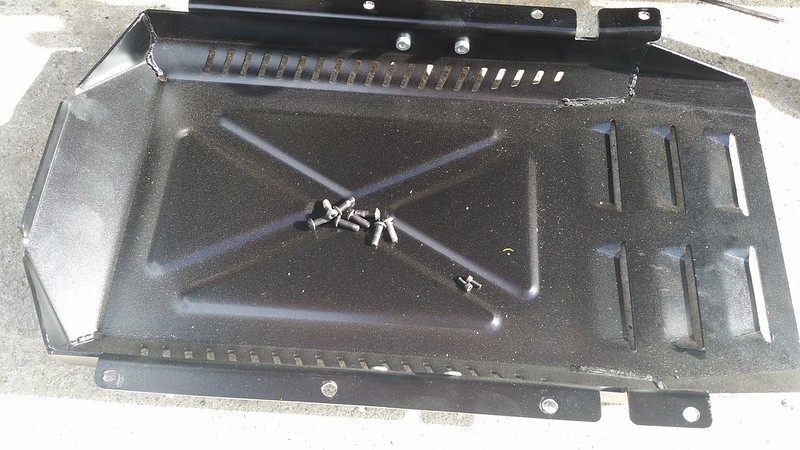
Then, pull the skidpan. The DS has an aluminum one, I think the one on the S and SR are plastic, but not sure.
Just a handful of easy to find bolts:
 photo
photo by
edwards8899, on Flickr
popping the seat off also makes things easier. Its the two giant Torx bolts on the frame at the back (T-45?)
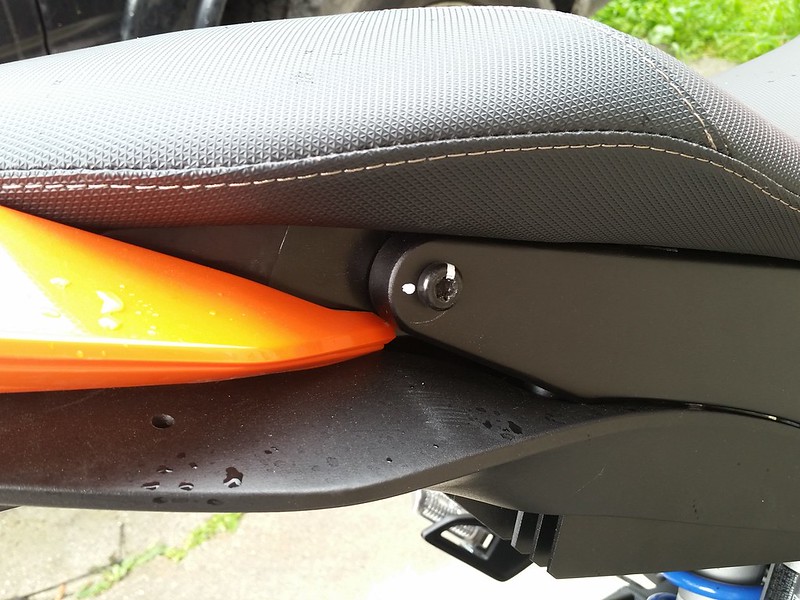 20150228_133810
 by
edwards8899, on Flickr
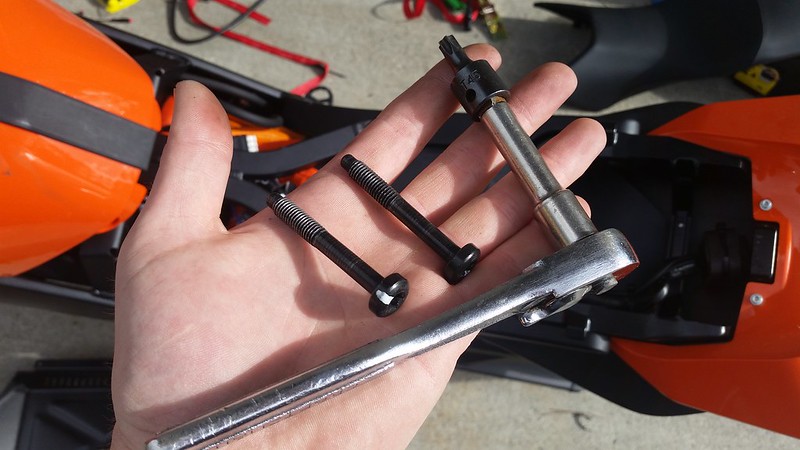 photo
photo by
edwards8899, on Flickr
Next, you will want to remove the wiring from the bike side of things. There are three plugs, one on the AC end of things that's bolted to the bike, (your charge plug) the comm connector (enable signal, can comms etc...) and one plug on the DC side that goes up to the charge wiring harness.
The comms plug just has a tab, pull that one out.
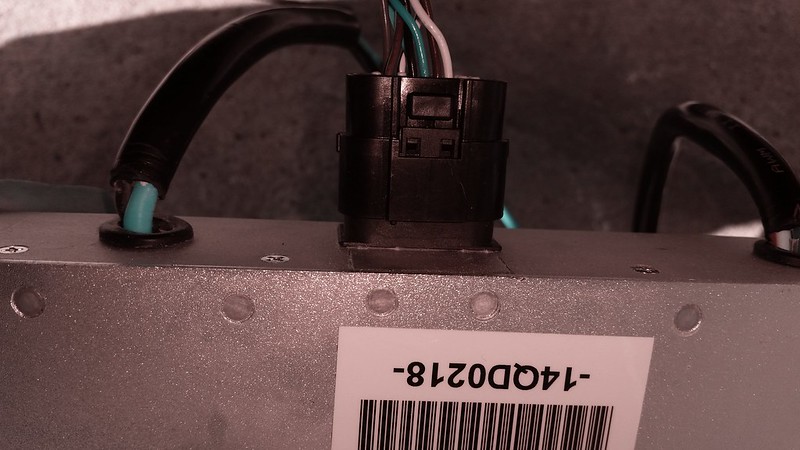 photo
photo by
edwards8899, on Flickr
Both of the other plugs are a major pain in the ass.
Starting with the DC plug:
The plug looks like an Anderson SBS 50, but it seems to be a narrower pin pitch with no center data pin set.
Anywho, the DC plug is located in front of the motor against the back side of the battery on the bike's right. They are tucked up between the battery and a frame member, so cut the zip ties (Including the zip tie holding the plugs together) and pull the push on zip tie mount things on the lower half of the cable going to the charger.
Pull down on the charger side of the connector from the bottom while pulling up on the top connector. Sometimes this requires a flesh donation to the motor, so covering the motor with a rag would be smart.
Pull the terminals out of the plug housing, (Google Anderson connector disassembly if you are unfamiliar) and pull it down thru the hole between the motor and frame.
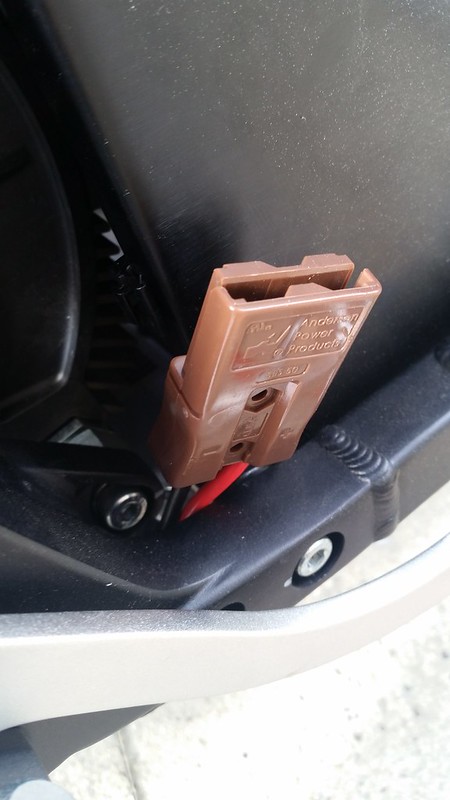 photo
photo by
edwards8899, on Flickr
 photo
photo by
edwards8899, on Flickr
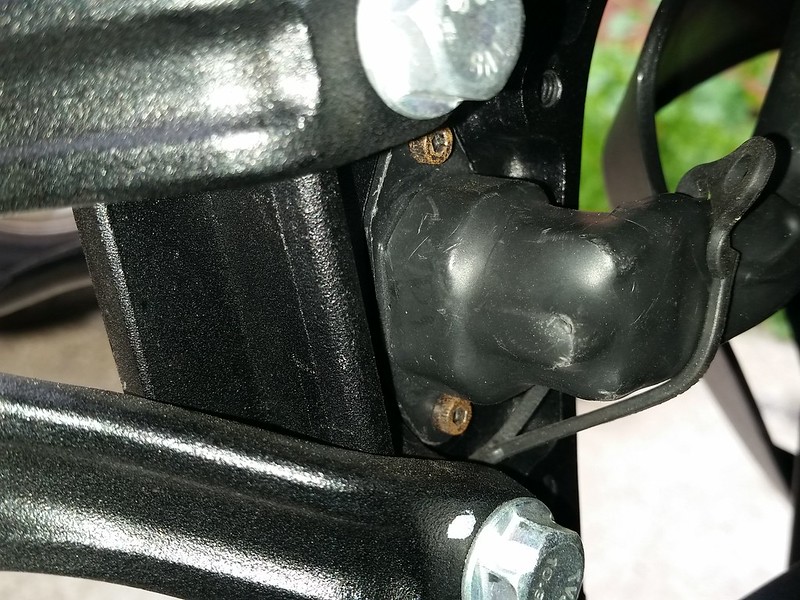
Next, the AC plug. It loops up under the seat and is zip tied on if a handful of places, there is two small bolts on the backside, they are a pain to get to, so get a decent set of hex drivers with handles.
 photo
photo by
edwards8899, on Flickr
 20150228_133913
 by
edwards8899, on Flickr
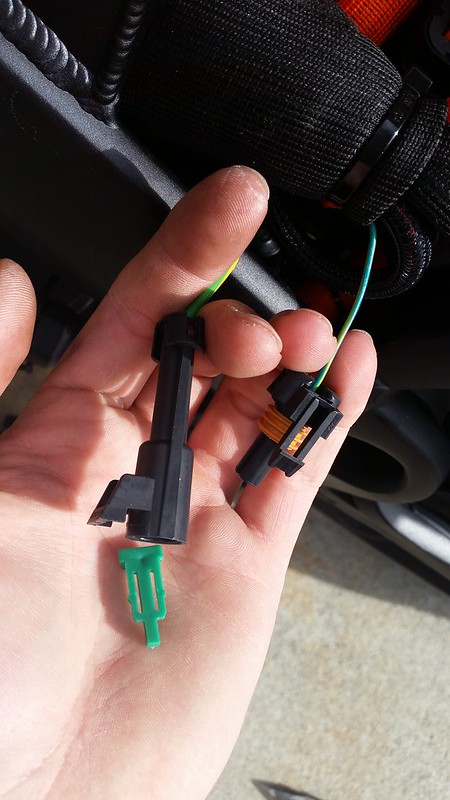
There is a fuseholder plug thing that connects the ground to who-knows-where, you have to squeeze some tabs to get the green locking piece out, then more tabs to get the plug apart.
 photo
photo by
edwards8899, on Flickr
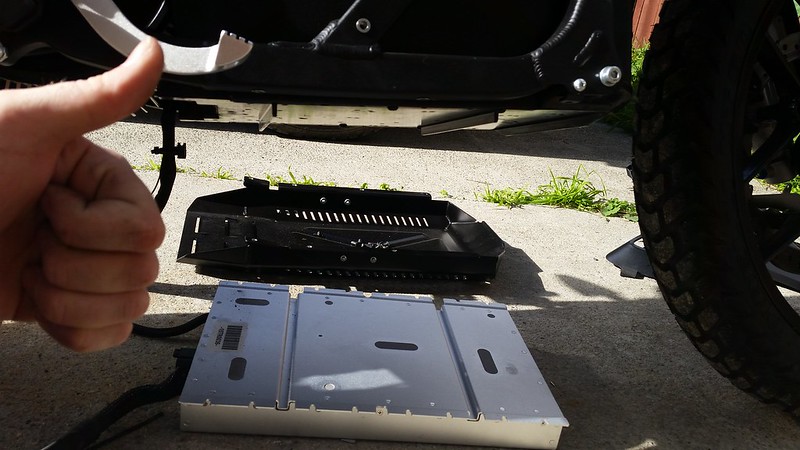
Then, once the cables are out, the charger just has six bolts on the tabs holding it up.
 photo
photo by
edwards8899, on Flickr
 photo
photo by
edwards8899, on Flickr
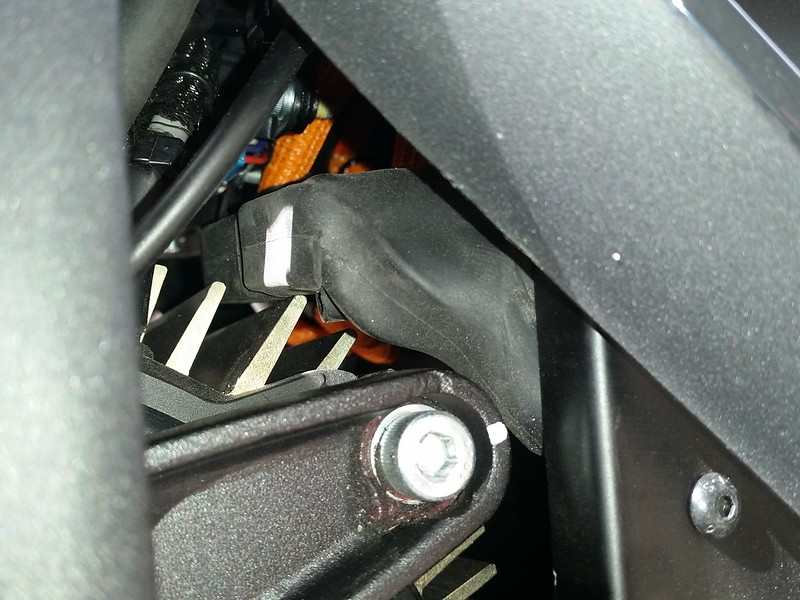
Assembly is the reverse of dis-assembly. I extended the DC wires on my replacement calex/greenwattpower charger, and put the plug set sideways, and up higher to make it easier to get at.
 20150228_145637
 by
edwards8899, on Flickr
 20150228_145626
 by
edwards8899, on Flickr


 Author
Topic: 2015 Zero Mod thread! (Read 10899 times)
